
The Metallurgy Audit: Why 18k White Gold is a Structural Liability
Jewelers love selling 18k White Gold because it needs constant maintenance. Engineers choose Platinum for the density or 14k for the stiffness. Here is the material science of your setting.
The Executive Summary
When choosing a metal for the engagement ring, you are usually offered two choices: Platinum or 18k White Gold. They look identical on day one. They behave completely differently under stress.
Platinum: A dense, malleable metal that "displaces" (bends) upon impact.
White Gold: An alloy that is brittle and prone to "micro-cracking" upon impact.
If you are designing a structure to hold a $20,000 asset (the diamond) for 50 years, brittleness is a critical failure mode.
Phase 1: The "Prong Failure" Scenario
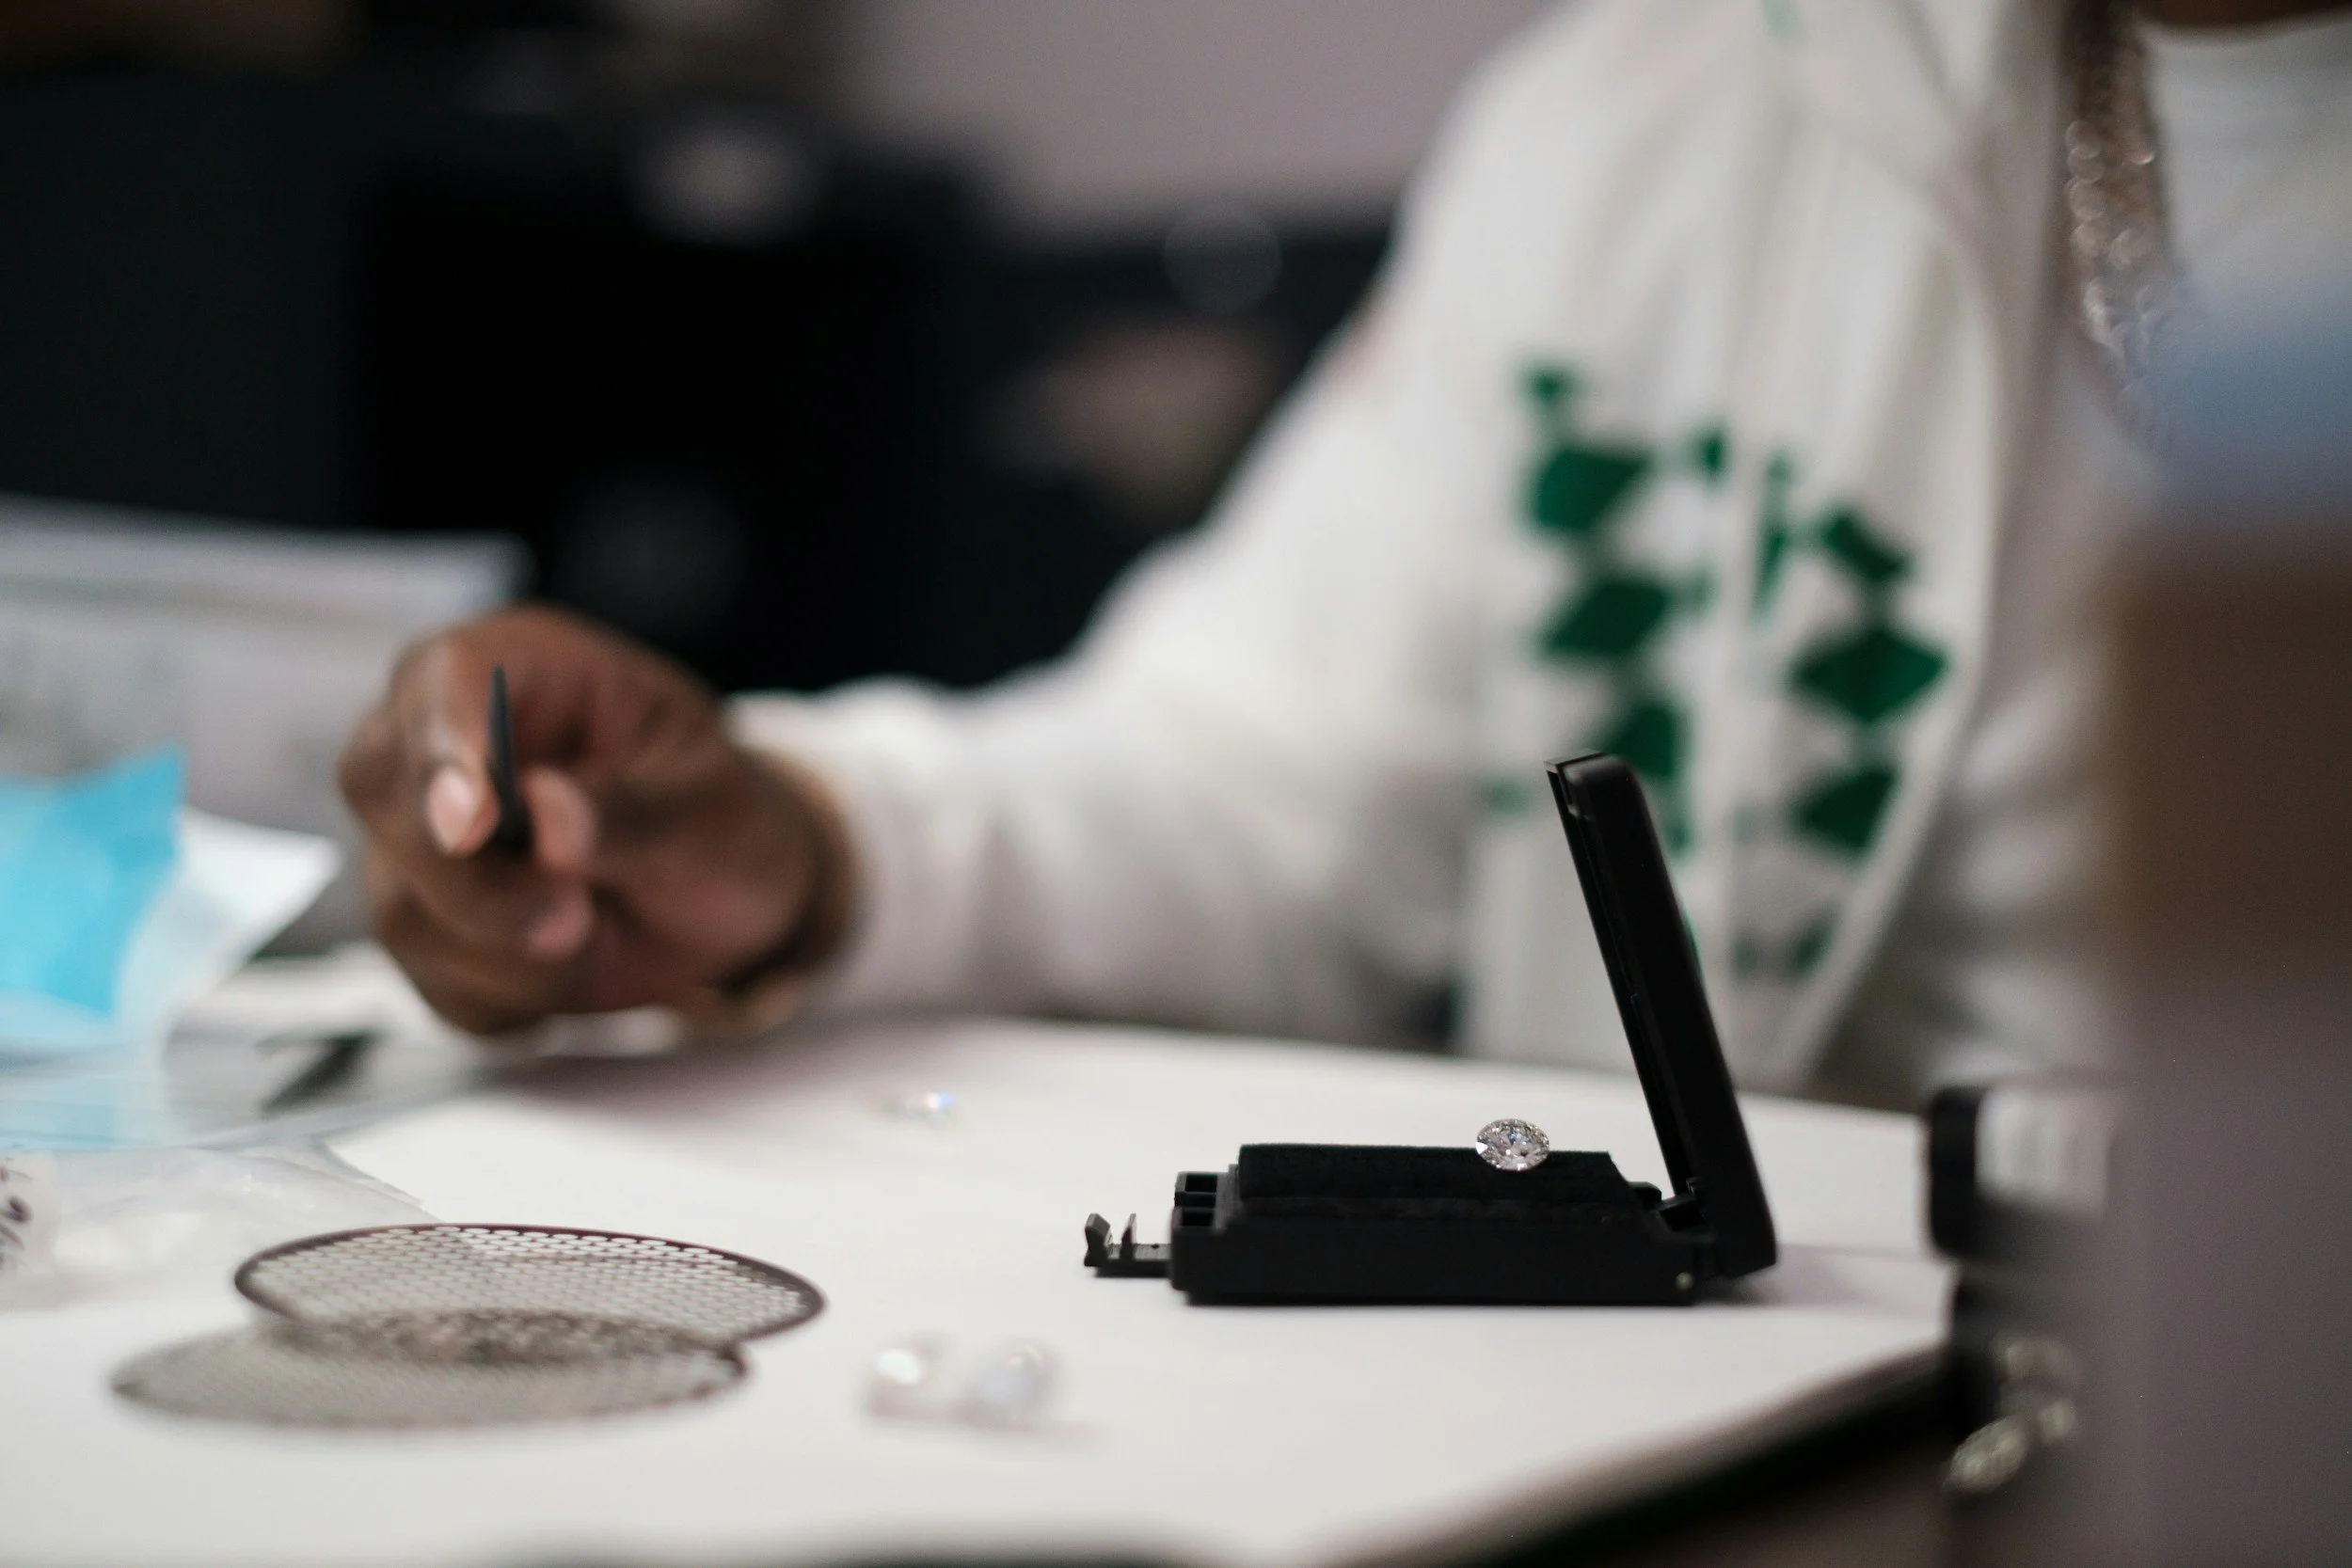
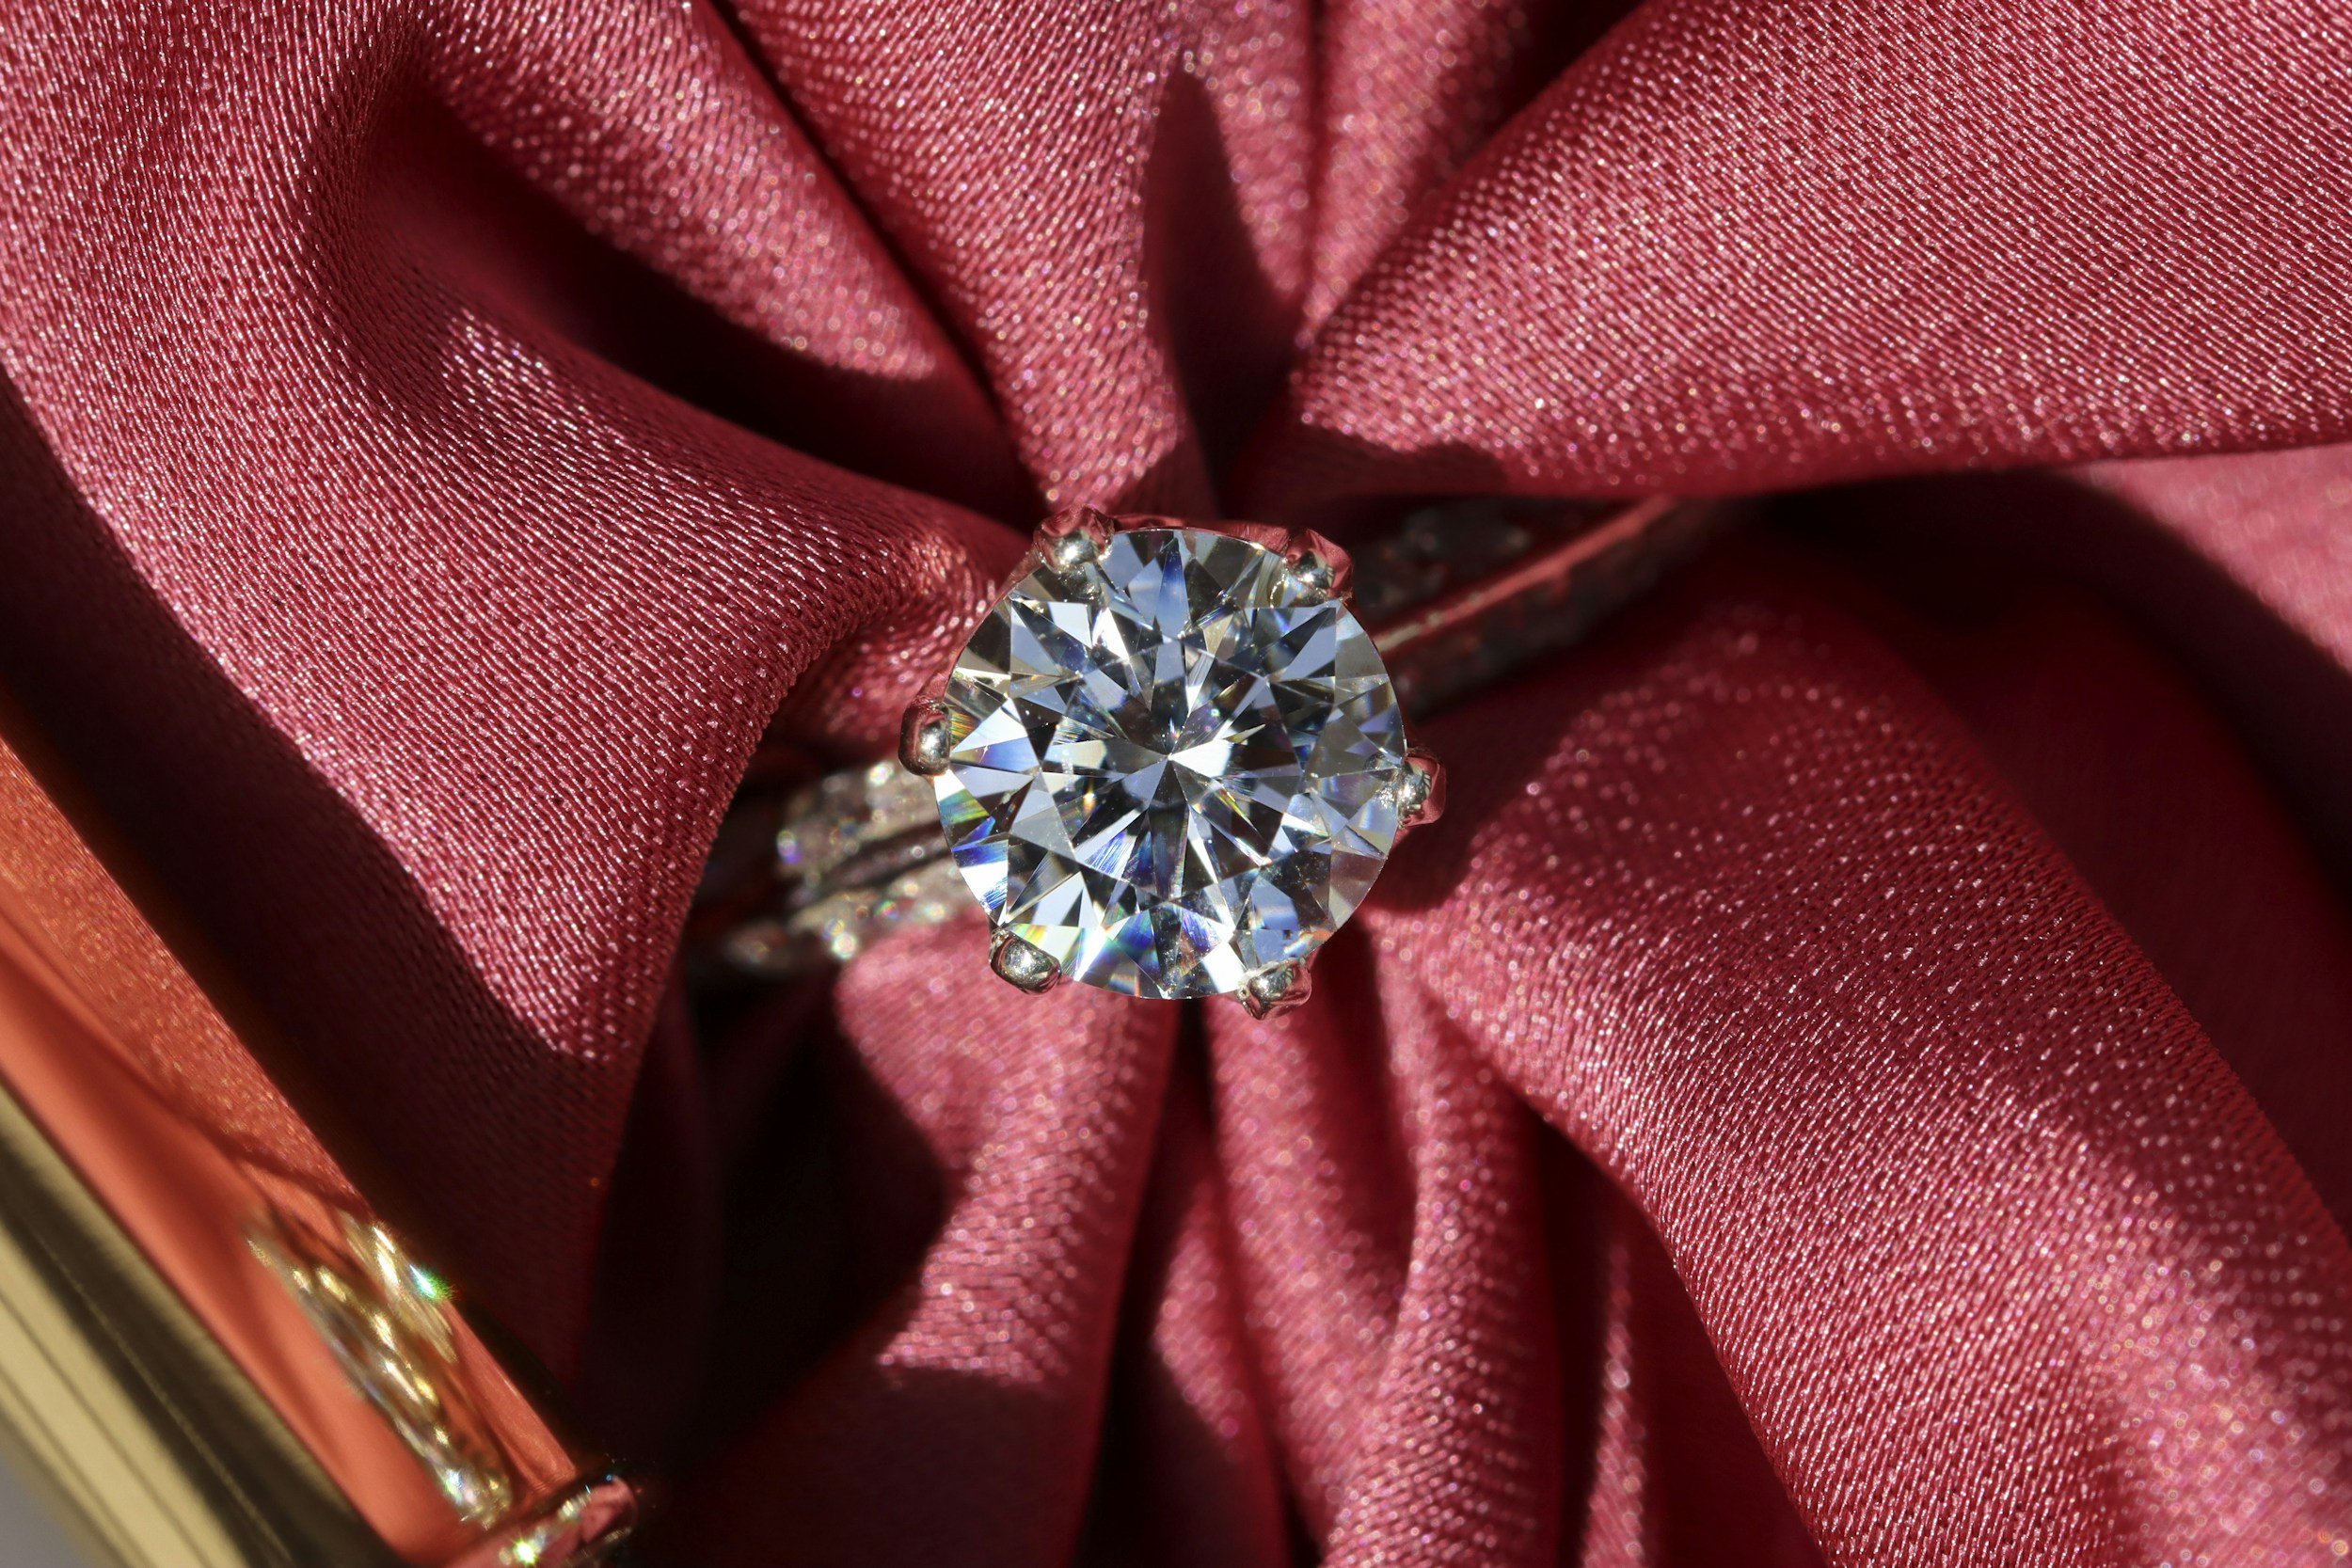
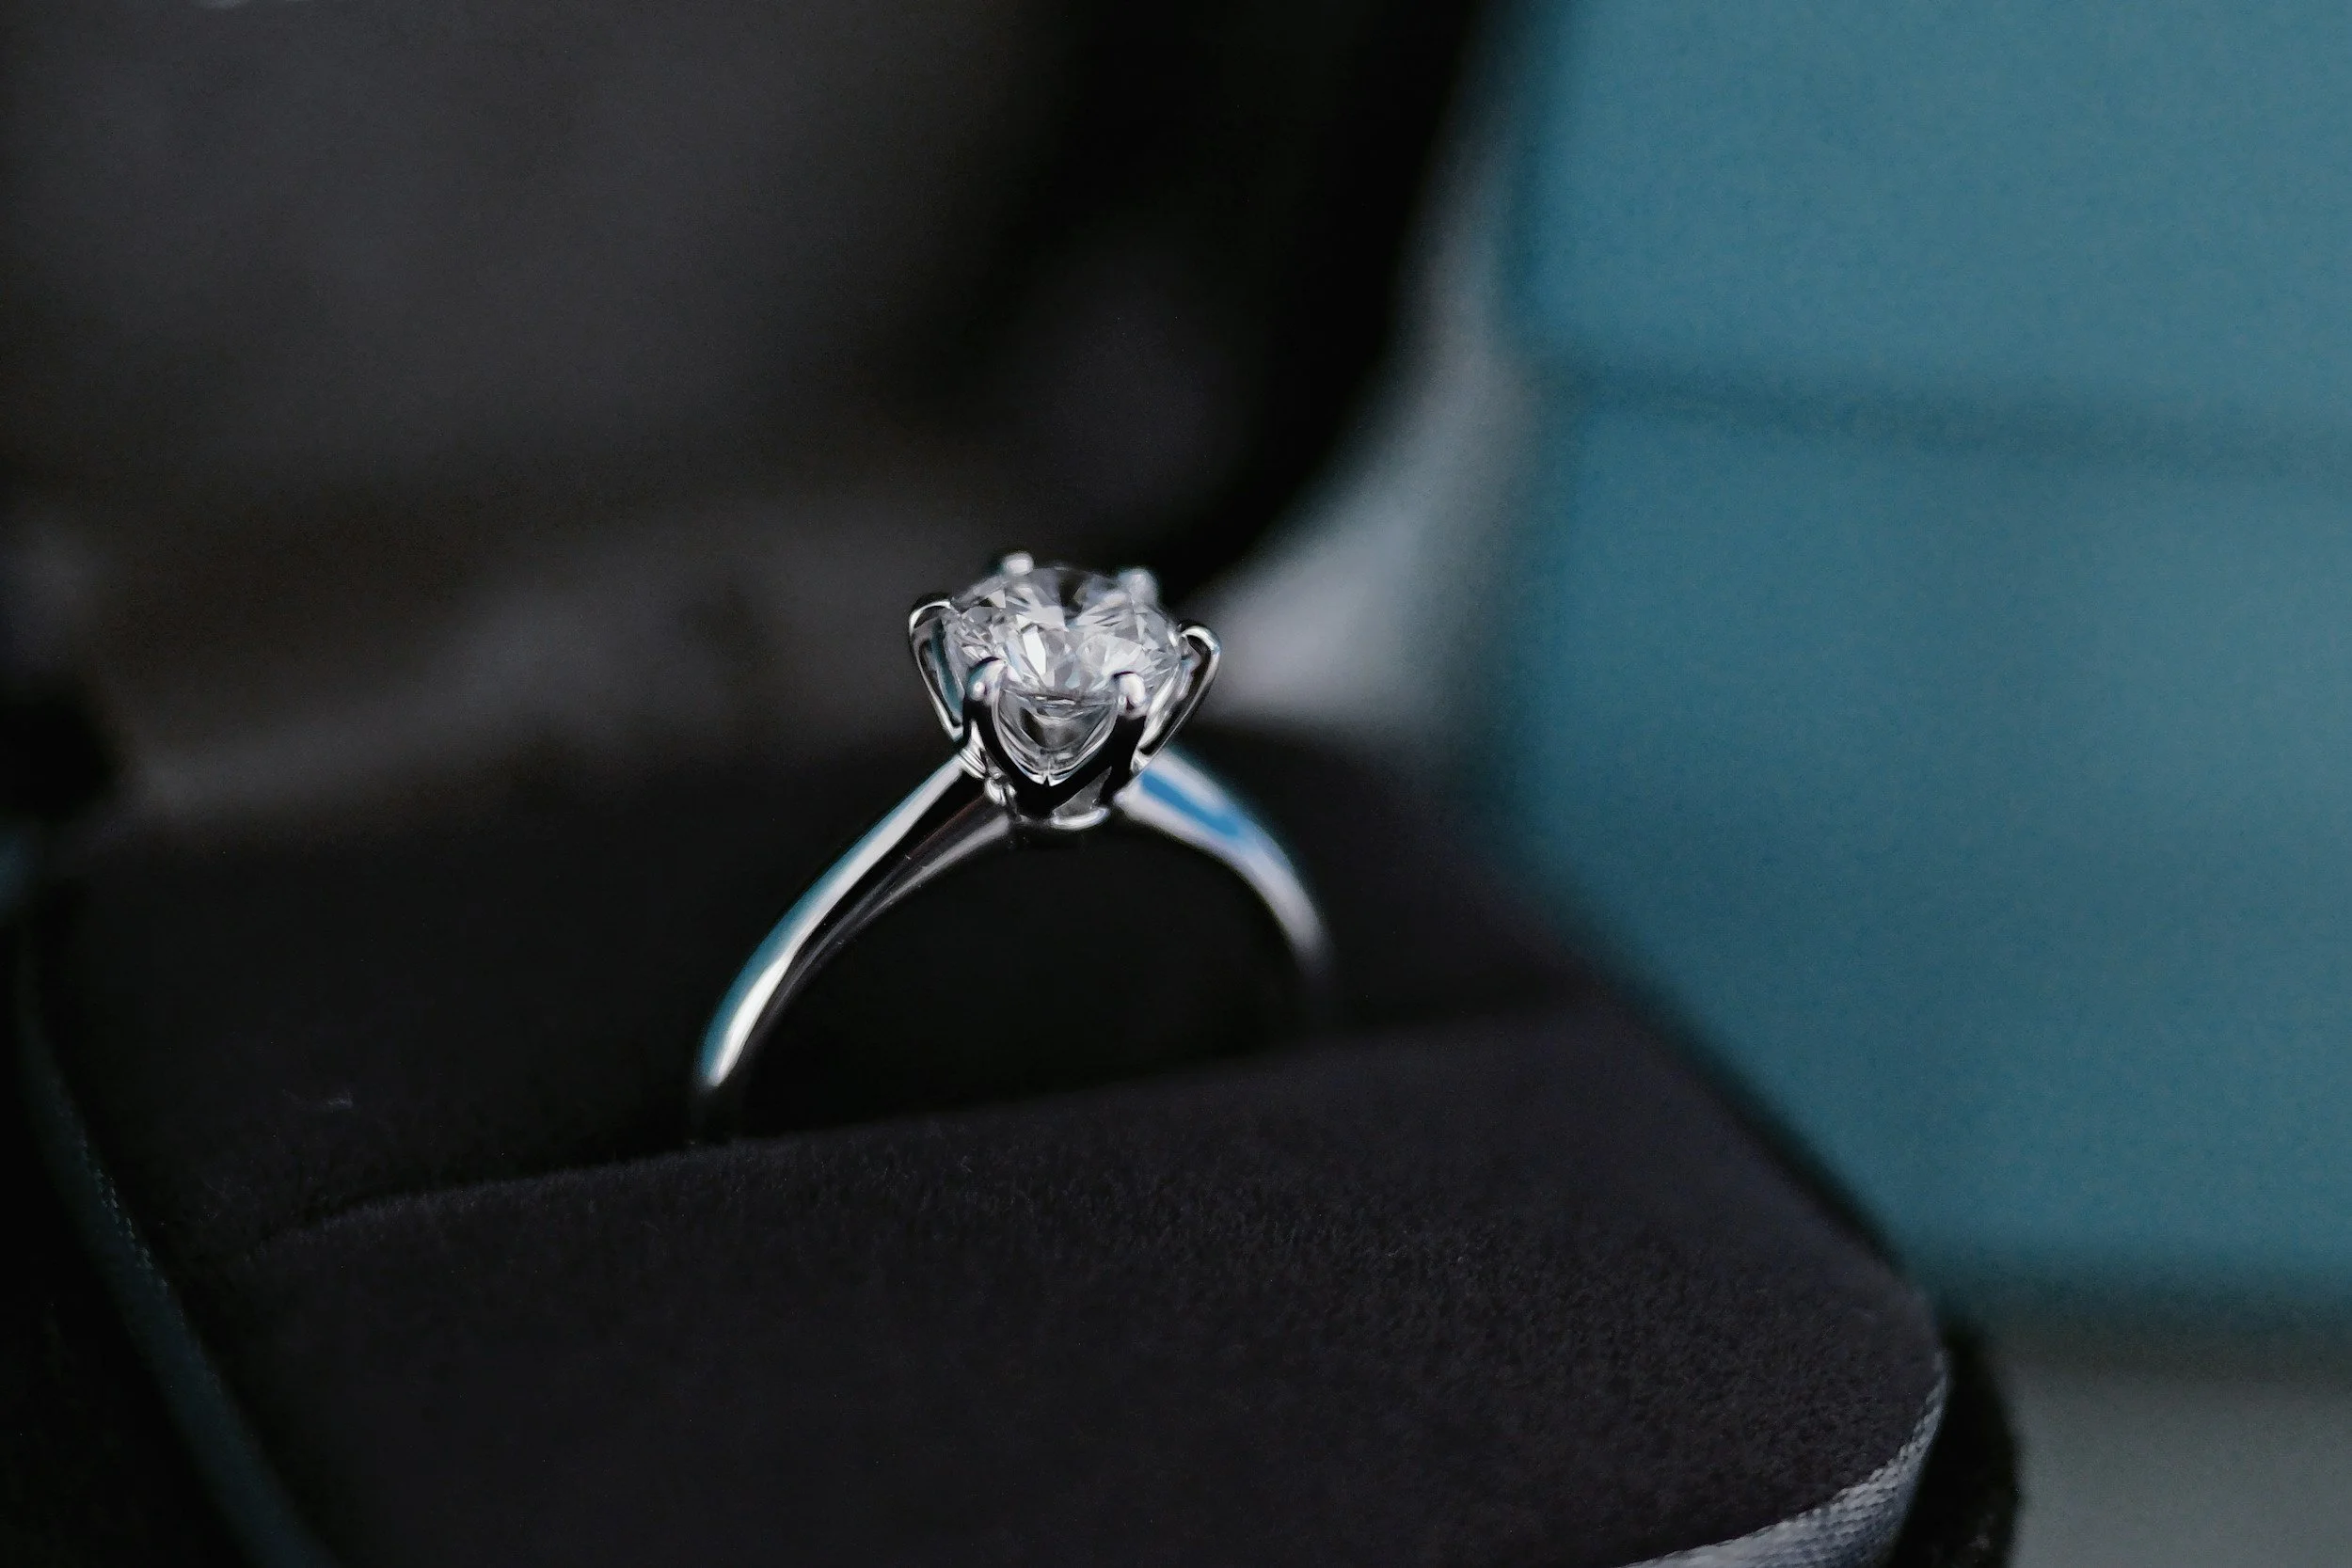
The most common point of failure in a ring is the Prong (the claw holding the diamond). You will inevitably bang your hand against a granite countertop or a car door.
The Platinum Response (Malleable): Platinum has zero "memory." If you hit it, the metal moves. The prong might bend slightly, but it will not snap. The diamond stays in the setting.
The Gold Response (Brittle): Gold alloys have "memory" (spring-back). If you hit an 18k gold prong hard enough, the crystalline structure can fracture. The prong snaps off. The diamond falls out.
The Verdict: For the "Basket" (the head holding the stone), Platinum is non-negotiable. It is the only metal that fails safely.
Phase 2: The "Rhodium Plating" Maintenance Trap
Why is "White Gold" white? It isn't. Gold is yellow. To make it white, jewelers mix it with nickel/zinc and then plate it with Rhodium (a platinum-group metal).
The Trap: Within 12 to 18 months, friction will wear that Rhodium plating off. The bottom of the ring will turn a dull, warm yellow.
The Cost: You must take it back to the jeweler to be "dipped" (re-plated) for $50-$100 every year.
The Platinum Advantage: Platinum is naturally white. It never fades. It develops a "Patina" (a satin finish of microscopic scratches) that makes it look like an antique heirloom, not a defects product.
Phase 3: The Density (The "Feel" Factor)
Luxury is often a function of weight. Platinum is 60% denser than 14k gold and 40% denser than 18k gold.
The Experience: When you hand someone a Platinum ring, their hand drops slightly. It feels substantial. It feels like "heavy machinery."
The Alternative: A light, hollow-feeling ring feels cheap, regardless of the price tag.
Final Calibration
Do not let a jeweler talk you into 18k White Gold for the setting. It is the worst of both worlds (expensive + brittle + high maintenance).
The Protocol:
The Head (Prongs): Always Platinum. (Maximum Security).
The Band (Shank):
If you want silver tone: Platinum.
If you want gold tone: 14k Yellow Gold (It is harder and more scratch-resistant than 18k).
If you want rose tone: 14k Rose Gold.
The Structural Failure Audit: Why "Very Thin" Girdles are a Liability
Diamonds are hard, but they are brittle. If the girdle is too thin, a single impact can shatter the edge. If it’s too thick, you are paying for dead weight.
The Executive Summary
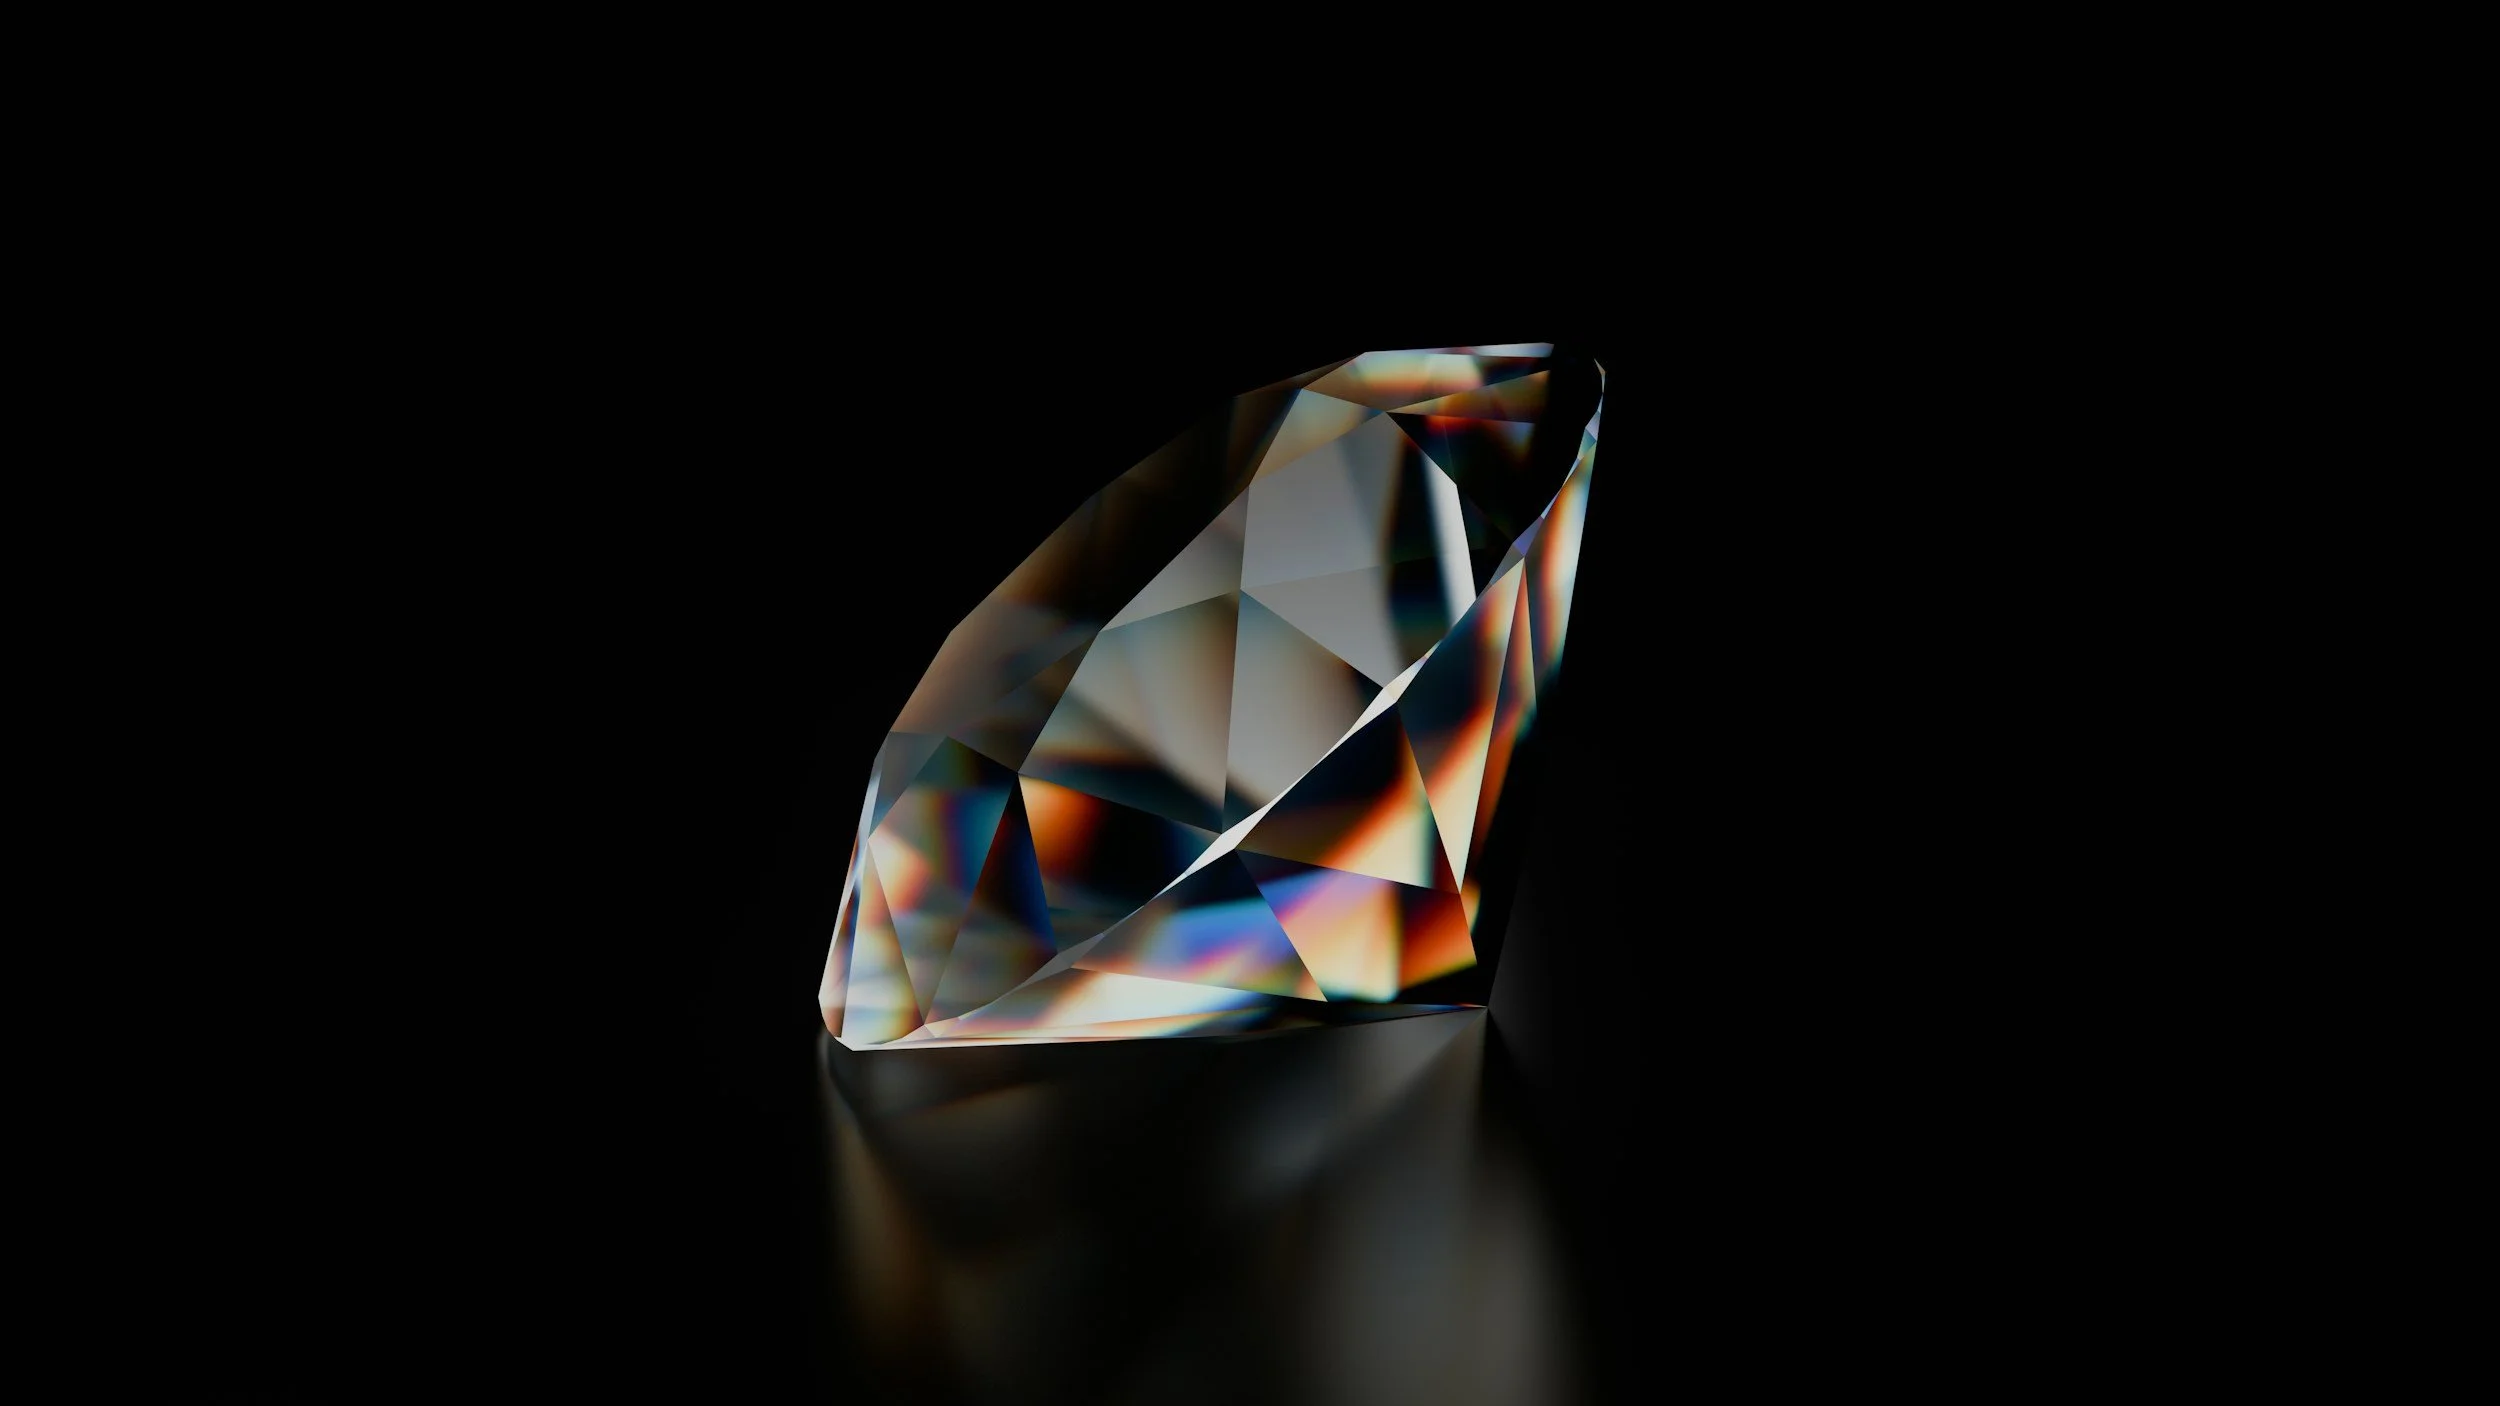
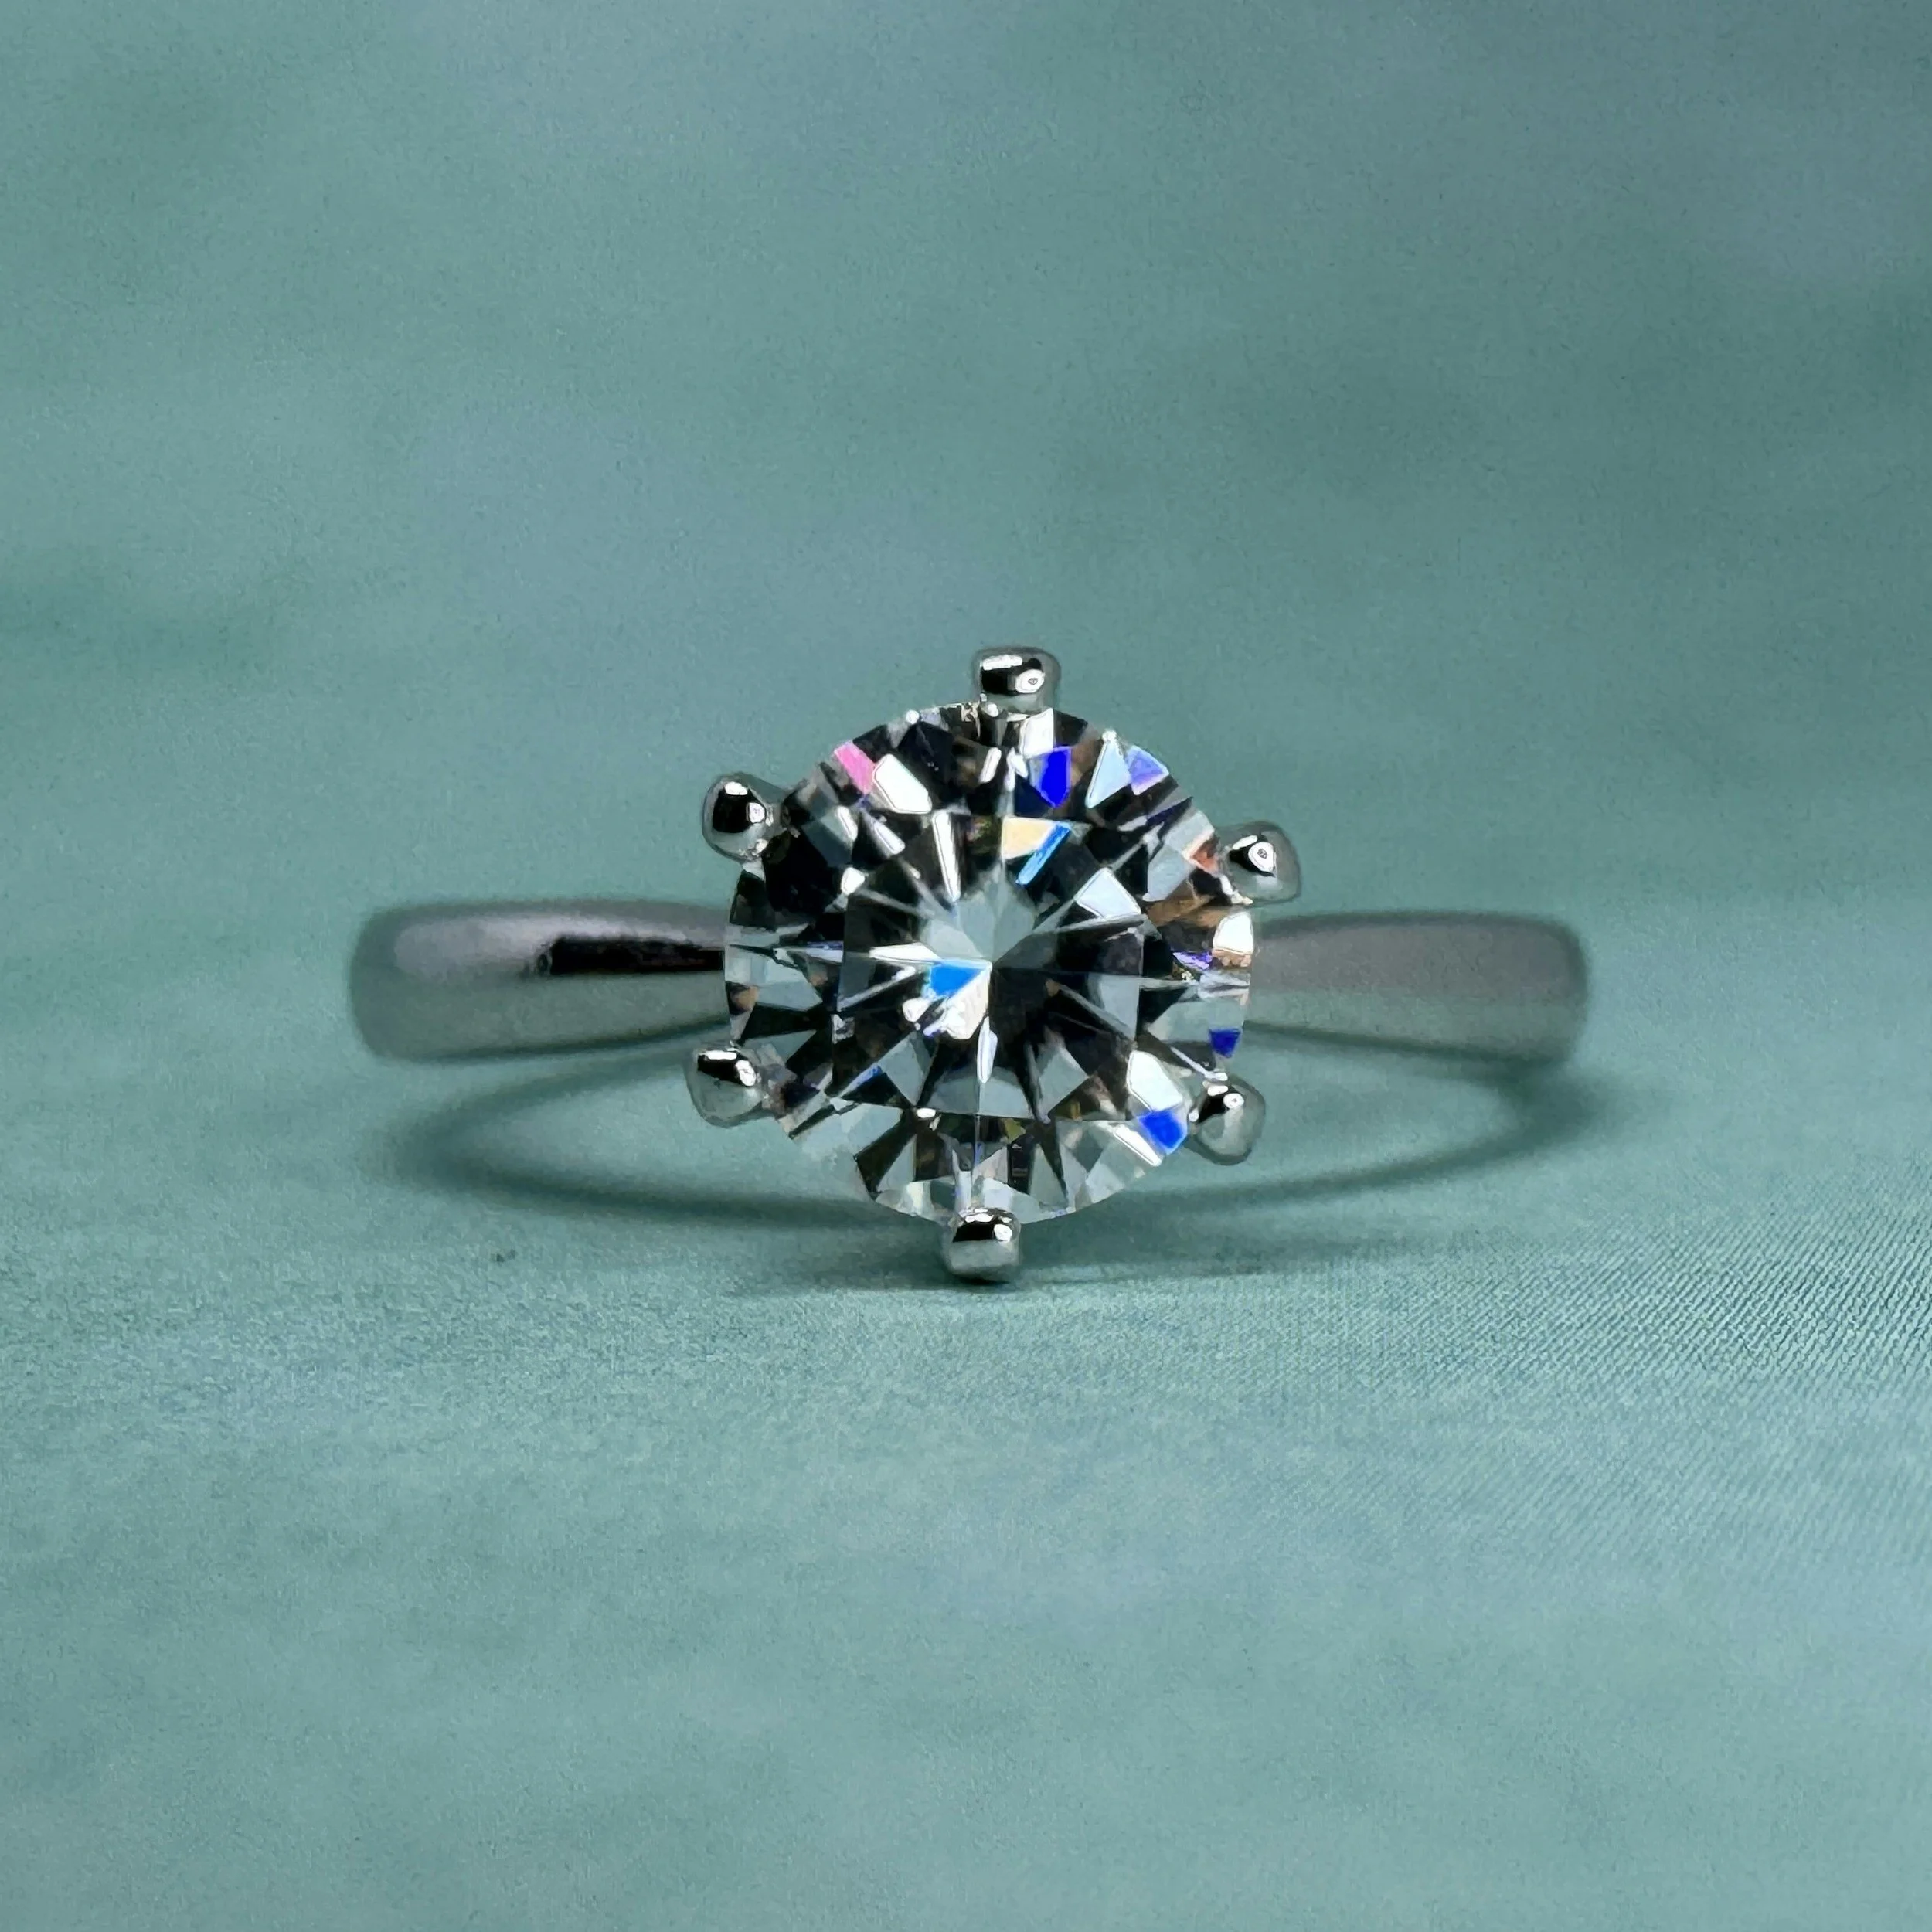
The Girdle is the outer edge of the diamond—the "belt" that separates the Crown (top) from the Pavilion (bottom). It serves two purposes:
The Bumper: It protects the stone from impact when it is set in the ring.
The Setting Edge: It gives the jeweler something to grip with the prongs.
GIA grades girdles on a scale:
Extremely Thin (Risk of Chipping)
Very Thin (Risk of Chipping)
Thin (Acceptable, but careful)
Medium (Ideal)
Slightly Thick (Ideal)
Thick (Hiding Weight)
Very Thick (Dead Weight)
Extremely Thick (Dead Weight)
Phase 1: The "Chip" Risk (The Thin End)
A diamond with a "Very Thin" or "Extremely Thin" girdle is a structural liability. While a diamond cannot be scratched by steel, it can be chipped by a granite countertop or a door frame.
The Failure Mode: If you hit the edge of a "Very Thin" girdle at the wrong angle (Cleavage Plane), the diamond can chip or crack.
The Cost: A chipped diamond is effectively worthless. You cannot "repair" it without re-cutting the entire stone and losing massive carat weight.
The Audit: We reject any stone with "Very Thin" or "Extremely Thin" on the GIA report. It is an uninsurable risk.
Phase 2: The "Dead Weight" Scam (The Thick End)
On the flip side, cutters often leave the girdle "Thick" or "Very Thick" to retain weight.
The Scam: A cutter has a 0.98ct stone. By leaving the girdle "Very Thick," they push the weight to 1.02ct.
The Result: You pay the 1.00ct price premium, but the diamond looks like a 0.98ct stone because the extra weight is hidden in the belt. It adds zero visual size and zero sparkle.
The Audit: We reject "Very Thick" girdles because you are paying for invisible mass. It is inefficient capital allocation.
Phase 3: The "Goldilocks" Zone
We hunt for the operational sweet spot: Target: Medium to Slightly Thick.
Structural Integrity: Thick enough to withstand daily wear and accidental knocks against hard surfaces.
Optical Efficiency: Thin enough that it doesn't distort the light path or hide unnecessary weight.
Setting Security: Perfect thickness for the jeweler to tighten the prongs securely without risking damage to the stone.
Final Calibration
When you look at a GIA report, do not just check the 4 Cs. Look at the Girdle line.
If it says "Very Thin": Walk away. (Risk).
If it says "Very Thick": Walk away. (Waste).
If it says "Med - Sl Thick": You have a structurally sound asset.
The Microscope Tax: Why Paying for "VVS" Clarity is Biologically Irrational
The human eye has a resolution limit of roughly 50 microns. VVS1 inclusions are 5 microns. You are paying a 40% premium for purity that physically cannot be seen.
The Executive Summary
In the diamond industry, "Clarity" is graded under 10x magnification.
FL/IF (Flawless): No inclusions visible at 10x.
VVS1/2 (Very Very Slightly Included): Minute inclusions difficult to see at 10x.
VS1/2 (Very Slightly Included): Minor inclusions visible at 10x, but usually invisible to the naked eye.
SI1/2 (Slightly Included): Noticeable at 10x, sometimes visible to the naked eye.
The delta in price between a VVS1 and a VS2 can be $4,000+. The visual difference to your fiancée? Zero. Unless she carries a jeweler's loupe on dates, she will never see the difference.
Phase 1: The Biological Hardware Limit
Let’s apply Operations Research to biology. The average human eye can resolve an object of about 0.05mm (50 microns) at a viewing distance of 10 inches.
A VVS1 inclusion is often <10 microns.
A VS2 inclusion is often 20-30 microns.
The Conclusion: Both are below the hardware detection threshold of the human retina. If you buy VVS1, you are paying a "Microscope Tax." You are paying for a lack of flaws that can only be verified by lab equipment, not by the user experience.
Phase 2: The "Eye-Clean" Arbitrage (VS2 / SI1)
We don't hunt for "Flawless." We hunt for "Eye-Clean." This is a binary operational status:
Pass: Can I see a black spot from 6 inches away? (No).
Fail: Can I see a black spot? (Yes).
The Sweet Spot: We target VS2 or SI1 stones where the inclusions are white/clear (feathers) rather than black (carbon crystals), and are located on the perimeter of the stone rather than the center (table). This is the best bang for your buck!
The Result: A diamond that looks identical to a Flawless stone.
The Savings: 30% to 50% off the sticker price.
Phase 3: The "Black Carbon" Danger Zone
This is why you cannot buy blindly online. Not all SI1s are created equal.
Scenario A (The Winner): An SI1 with a white "cloud" hidden under a prong. (Buy this).
Scenario B (The Loser): An SI1 with a single black carbon crystal dead center in the table. (Avoid this).
The certificate will grade both of these as "SI1" because the volume of the flaw is the same. But the optical impact is totally different. We audit the Location and Type of inclusion to ensure it is effectively invisible.
Final Calibration
Do not pay for VVS unless you are buying for investment grade (which you shouldn't be). Target a VS2 or a carefully vetted SI1. Take the $4,000 you saved and put it into Cut Quality (which she can see from across the room) or Carat Weight (which everyone notices).
The "Magic Number" Scam: Why You Should Never Buy a 1.00 Carat Diamond
Diamond pricing is not linear; it is a step-function. We exploit the "Undersize" arbitrage to save 25% instantly.
The Executive Summary
In a rational market, a 1.00ct diamond would cost 1% more than a 0.99ct diamond. The diamond market is not rational. It relies on "Magic Numbers"—psychological thresholds that wholesalers use to jack up prices. The moment a diamond hits 1.00ct, the price-per-carat jumps by 20% to 35%.
This creates a massive inefficiency. You are paying thousands of dollars for a "1.00" on a piece of paper, even though the stone looks identical to a 0.95ct stone. We don't pay for paper. We pay for photons.
Phase 1: The Step-Function Price Model
If you graph diamond prices, it doesn't look like a smooth ramp. It looks like a staircase.
0.50ct – 0.69ct: Base Price.
0.70ct – 0.89ct: Price Jump #1.
0.90ct – 0.99ct: The "Shy" Range (The Sweet Spot).
1.00ct – 1.49ct: The "Magic Number" Explosion.
The Math: A 1.00ct G-VS2 might cost $8,000. A 0.95ct G-VS2 might cost $5,500. The Delta: You save $2,500 (30%) for a weight difference of 0.05ct. This applies even more so with 2.00ct and 3.00ct, and on and on.
Phase 2: The Visual Acuity Test (The "mm" Audit)
"But I want it to look big!" Let's audit the physical dimensions.
Diameter of a well-cut 1.00ct: ~6.5mm.
Diameter of a well-cut 0.95ct: ~6.3mm.
The Difference: 0.2mm. To put that in perspective, the thickness of a standard sheet of paper is 0.1mm. Can you see two sheets of paper from 3 feet away on a moving hand? No. The human eye cannot resolve that difference.
The Strategy: Buy the 0.90ct – 0.98ct range (often called "Shy" or "Under-sizes"). You get 98% of the visual size for 70% of the price.
Phase 3: The "Cutter's Regret" (Why These Are Rare)
Why doesn't everyone do this? Because diamond cutters aren't stupid. If a cutter has a rough stone that could be a 0.98ct, they will often cut it slightly "fat" (leaving extra weight on the girdle or pavilion) just to push it over the 1.00ct mark to get the higher price.
This means finding a well-cut 0.96ct is actually harder than finding a 1.00ct.
The 1.00ct: Often has compromised cut quality (to keep weight).
The 0.96ct: Often has superior cut quality (because they prioritized beauty over hitting the magic number).
The Hunt: We specifically filter for these "Undersize" stones. They are rare, but when we find one, it is the ultimate arbitrage: Better Cut + Lower Price.
Final Calibration
Do not be seduced by the "1.00" vanity metric. No one walks around with a scale. They walk around with eyes. If you buy a 0.96ct Super Ideal Cut, it will sparkle more and look bigger than a 1.00ct Average Cut, and you will have enough cash left over to upgrade the setting.
The Fluorescence Myth: When to Use It to Your Advantage (and When to Walk Away)
The market punishes Blue Fluorescence as a defect, discounting stones by 10-15%. We use it as a natural whitening filter. Here is the physics of color cancellation.
The Executive Summary
In the diamond market, "Fluorescence" (a glow when exposed to UV light) is controversial. Traditional jewelers often tell you to avoid it. They claim it makes the diamond look "oily” or “cloudy". This is a generalization that creates inefficiency.
Because of this stigma, diamonds with "Medium" or "Strong" Blue Fluorescence trade at a 10% to 15% discount compared to "None" Fluorescence stones. We exploit this discount to upgrade your Color Grade for free.
Phase 1: The Physics of Color Cancellation
Most diamonds have a trace of Nitrogen, which causes a Yellow tint (lowering the value). Fluorescence usually glows Blue.
The Color Theory:
Yellow + Blue = White.
If you have a diamond with a slight yellow tint (I or J Color) and you add a blue glow (Medium Blue Fluorescence), the two cancel each other out.
The Result: The diamond appears whiter and brighter to the naked eye than its paper grade suggests.
Phase 2: The "J-Color" Strategy
This is the classic arbitrage play.
The "Safe" Buyer: Buys a G-Color / None Fluorescence. Pays a premium for "purity."
The "Calibrated" Buyer: Buys a J-Color / Medium Blue.
The Savings: The J-Color is naturally cheaper (30% less than G).
The Discount: The "Fluorescence" knocks another 10% off the price.
The Visual: The blue counteracts the yellow J-tint. Face-up, it looks like an H or G color.
The ROI: You save 40% on the sticker price for a stone that looks identical in normal lighting (which contains UV).
Phase 3: The "Overblue" Risk (The Audit)
Why does the market discount it? Because of the "Milky" Risk. In rare cases (usually "Very Strong Blue"), the fluorescence is so intense that the diamond looks hazy or oily in direct sunlight. It loses its crispness.
This is why you cannot buy blind.
Medium Blue: 99% Safe. Ideally perfectly cancels yellow.
Strong Blue: High Risk / High Reward. Needs visual verification.
Very Strong Blue: Avoid (unless audited personally).
Final Calibration
Do not fear the blue. Monetize it. If you are buying a diamond in the near-colorless range (G-J), seek out "Faint" or "Medium" Blue. You are effectively buying a "Whitening Filter" that the dealer is paying you to take off their hands.
The $128,000 Engagement Ring: A 30-Year Opportunity Cost Model
Stop asking if Lab-Grown diamonds are "real." Ask what the Opportunity Cost of a Natural diamond is over a 30-year horizon. We ran the compounding interest numbers.
The Executive Summary
The jewelry industry wants you to view a diamond as an "Investment."
It is not. It is a depreciating luxury asset, like a German sedan. You drive it off the lot, and it loses 50% of its value immediately.
The debate between Natural and Lab-Grown diamonds is usually emotional ("It feels special").
We ignore feelings. We look at Net Present Value (NPV) and Future Value (FV).
When you choose Natural over Lab, you aren't just spending more money today. You are destroying future capital.
Phase 1: The Physics Analysis (They Are Identical)
First, let's clear the technical variable.
Natural Diamond: Crystallized carbon formed 100 miles underground.
Lab-Grown Diamond: Crystallized carbon formed in a plasma reactor.
The Test: If you hand a Lab diamond and a Natural diamond to a gemologist without a $10,000 spectrometer, they cannot tell the difference.
They have the same Refractive Index, the same Hardness (Mohs 10), and the same Dispersion (Fire).
From an optical engineering standpoint, they are the same product.
Phase 2: The CapEx Model (The Initial Outlay)
Let’s model a standard high-performance asset:
Target: 2.00 Carat, Round Brilliant, G-Color, VS1 Clarity, Ideal Cut.
Asset A (Natural): Market Price: ~$25,000
Asset B (Lab-Grown): Market Price: ~$3,000
The Delta (Capital Surplus): $22,000
If you buy Natural, you are burning $22,000 of liquidity for "History."
If you buy Lab, you retain $22,000 of liquidity.
Phase 3: The 30-Year Horizon (The "S&P 500" Strategy)
Here is where the math gets violent.
Imagine you take that $22,000 surplus and, instead of giving it to a diamond cartel, you invest it in a low-cost S&P 500 Index Fund (Historical average return: 7% inflation-adjusted).
The Calculation:
Principal: $22,000
Rate: 7% (Compounding Annually, accounting for inflation)
Time: 30 Years (Your 30th Wedding Anniversary)
FV = $22,000 X (1.07)^30 = $167,468
The Verdict:
The "Real Cost" of the Natural diamond isn't $25,000.
The Real Cost is the $167,468 retirement account you set on fire.
Phase 4: The Resale Myth (The Exit Strategy)
"But Natural diamonds hold their value!"
False.
Try to sell a $25,000 Natural diamond back to a jeweler today. You will be offered $12,000–$14,000 (wholesale scrap value). You instantly lose ~50%.
Natural Scenario: You spend $25k. You can sell it for $12k. Net Loss: $13k.
Lab Scenario: You spend $3k. It has zero resale value ($0). Net Loss: $3k.
The Winner: The Lab diamond still results in a smaller total loss ($3k vs $13k), even if you throw it in the ocean.
Final Calibration
If you have an unlimited budget and the "romantic history" of a natural stone is worth $167,000 to you, then buy Natural. There is nothing wrong with luxury spending and absolutely nothing wrong if natural is what your partner wants.
Just do not call it an investment.
The Calibrated Strategy:
Buy the Lab-Grown stone for $3,000.
Take the $22,000 savings.
Fund your wedding, a house down payment, or a compounding investment account.
Nobody will know the difference. (Physics guarantees it).
The GIA "Triple Excellent" Lie: Why 80% of "Top Tier" Diamonds are Duds
The industry standard is broken. GIA "Excellent" Cut is a massive bucket that hides poor performance. We look at the angles, not the label.
The Executive Summary
If you walk into a jewelry store, the salesperson will show you a GIA certificate and point to three words: Cut: Excellent. Polish: Excellent. Symmetry: Excellent.
They call this "Triple Ex." They tell you it is the best money can buy. They are lying.
In the world of diamond cutting, "Excellent" is not a target; it is a participation trophy. The GIA "Excellent" range is so wide that it includes the top 1% of precision-cut stones alongside the bottom 40% of "steep/deep" stones that leak light.
We don't buy labels. We audit the Physics of Light Refraction.
The Efficiency Problem: Weight vs. Light
Why do bad diamonds get "Excellent" grades? Profit efficiency. Diamond cutters are paid to maximize Carat Weight, not beauty.
Scenario: A diamond cutter has a rough diamond.
Option A: Cut it perfectly for maximum sparkle. The final stone is 0.90 Carat.
Option B: Leave it a little "fat" (too deep) to keep the weight. The final stone is 1.01 Carat.
Result: The cutter chooses Option B because a 1.0ct stone sells for exponentially more than a 0.90ct stone (The "Magic Number" Price Jump). Crucially, GIA still grades Option B as Excellent despite the fact that it leaks light through the bottom.
The Audit: The "Steep/Deep" Curse
How do you spot a "Heavy" stone that looks dead? You have to ignore the grade and look at the Angles on the certificate.
The Danger Zone (Steep/Deep): If a diamond is cut too deep, light enters the top, hits the bottom facet, and instead of bouncing back to your eye, it leaks out the side (Windowing).
Red Flag: Pavilion Angle > 41.0° combined with a Crown Angle > 35.0°.
The Effect: The center of the diamond looks dark (the "Nailhead" effect).
The Danger Zone (Shallow): If a diamond is cut too shallow, light passes straight through it like a piece of glass (Fish-eye).
Red Flag: Pavilion Angle < 40.6°.
The Effect: The diamond looks watery and lacks "fire" (colored flashes).
The Calibration: The "Sweet Spot"
True "Calibrated Luxury" exists in a tiny intersection of angles where physics dictates maximum light return. This is the top 1% of the top 1%.
The Target Specs (The Safe Zone):
Table %: 54% – 57%
Depth %: 60% – 62.4%
Crown Angle: 34.0° – 35.0°
Pavilion Angle: 40.6° – 40.9°
If your diamond falls into this tight window, the facets act as a perfect series of mirrors, reflecting 99% of light back to the viewer's eye. It will look bigger, brighter, and cleaner than a "Triple Ex" stone outside this range.
The Financial Implication
Why does this matter? Because the "Steep/Deep" dud costs the exact same price as the "Sweet Spot" performer. The market prices them by Carat and GIA Grade, not by Light Performance.
The Arbitrage: We hunt for the "Sweet Spot" stones that are priced like standard inventory. You get a diamond that performs like a $30,000 "Super Ideal" brand name for the price of a generic commodity stone.
Final Calibration
Do not trust the "Excellent" grade. It is a marketing bucket, not a performance metric. Before you buy, look at the numbers. If the Pavilion Angle is 41.4°, walk away. You are paying for dead weight.